How to Take Stunning Portraits Like a Pro
How to Take Stunning Portraits Like a Pro
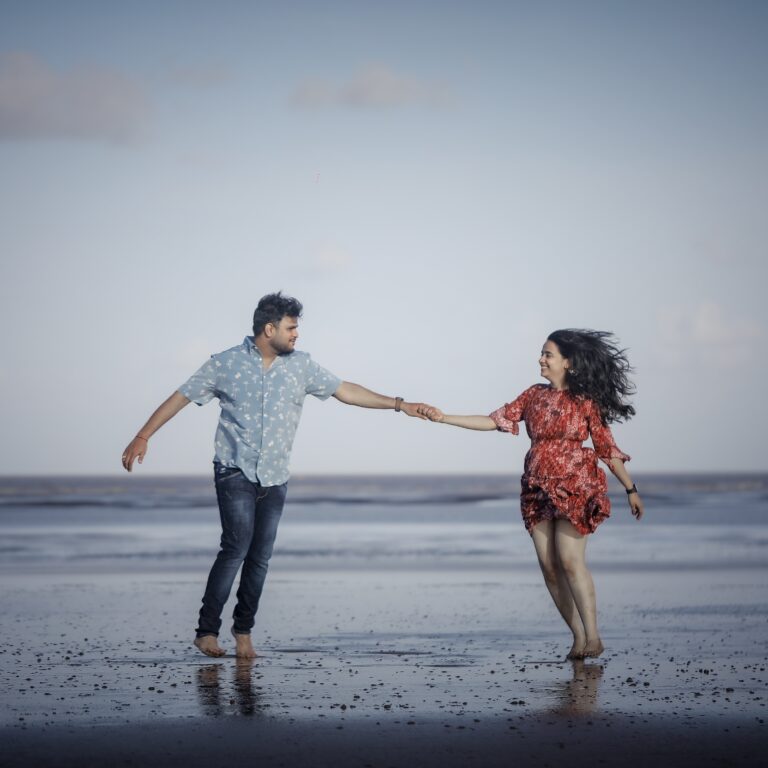
Portrait photography is an art that captures the essence of a subject, highlighting their personality, emotions, and beauty. Whether you’re shooting professional headshots, creative portraits, or candid moments, mastering portrait photography requires a mix of technical skills, creativity, and an understanding of light and composition. Here’s a comprehensive guide on how to take stunning portraits like a pro.
1. Understand Your Camera and Settings
A great portrait begins with understanding your camera. Whether you’re using a DSLR, mirrorless, or even a smartphone, knowing the right settings can make a huge difference.
- Aperture (f-stop): A wider aperture (f/1.8 – f/2.8) creates a beautiful blurred background (bokeh), making the subject stand out.
- Shutter Speed: Use a faster shutter speed (1/200s or higher) to prevent motion blur.
- ISO: Keep ISO as low as possible (100-400) for cleaner, noise-free images.
- Focus Mode: Use single-point autofocus (AF-S or One-Shot AF) to ensure sharp focus on the eyes.
2. Master the Art of Lighting
Lighting is the key to a stunning portrait. Different types of lighting create different moods:
- Natural Light: The golden hour (early morning or late afternoon) offers soft, warm light that enhances skin tones.
- Softbox or Ring Light: For indoor shoots, use soft, diffused lighting to reduce harsh shadows.
- Reflectors: Use a white or silver reflector to bounce light and fill in shadows on the face.
- Backlighting: Position the light behind your subject for a glowing, dramatic effect.
3. Perfect the Composition
Composition plays a vital role in making your portraits visually appealing. Consider these techniques:
- Rule of Thirds: Place the subject’s eyes along the upper third of the frame for a balanced look.
- Leading Lines: Use natural lines (e.g., roads, walls, or shadows) to guide the viewer’s eye to the subject.
- Negative Space: Leaving empty space around your subject adds emphasis and a minimalist aesthetic.
- Frame Within a Frame: Use windows, doorways, or branches to naturally frame the subject.
4. Engage with Your Subject
A great portrait isn’t just about technical settings—it’s about capturing emotions and expressions. To make your subject feel comfortable:
- Communicate and guide them with simple posing directions.
- Encourage natural expressions by making them laugh or engaging in light conversation.
- Use music or a relaxed setting to help them ease into the shoot.
- Capture candid moments where they’re genuinely expressing themselves.
5. Choose the Right Background
The background plays a crucial role in portrait photography. Keep these tips in mind:
- Use a simple, uncluttered background to keep the focus on the subject.
- Blur the background using a wide aperture (low f-number) for professional-looking portraits.
- Experiment with urban, nature, or indoor settings to add different moods to your shots.
6. Experiment with Different Angles and Perspectives
Avoid taking all portraits at eye level. Try these creative angles:
- High Angle: Shooting from above makes the subject look smaller and softer.
- Low Angle: Shooting from below adds power and authority.
- Side Profiles: Capture unique facial features and a dramatic effect.
- Close-Ups: Zoom in on facial details like eyes, lips, or expressions for an emotional touch.
7. Use Props and Accessories
Adding props can enhance creativity and storytelling in portraits.
- Flowers, books, hats, or scarves can add interest and depth.
- Use sunglasses or mirrors to create artistic reflections.
- Experiment with smoke, fairy lights, or glass prisms for a dreamy effect.
8. Nail the Post-Processing
Editing is where your portrait truly comes to life. Use software like Adobe Lightroom or Photoshop to:
- Adjust Exposure & Contrast: Ensure balanced lighting and proper highlights/shadows.
- Enhance Skin Tones: Smooth out skin while keeping it natural.
- Sharpen Details: Make the eyes pop and add clarity to facial features.
- Use Color Grading: Apply subtle filters or tones to enhance mood.
9. Shoot in RAW for Maximum Flexibility
Shooting in RAW format allows for better post-processing control. Unlike JPEG, RAW files retain all image details, letting you recover highlights, adjust colors, and enhance sharpness without losing quality.
10. Keep Practicing and Experimenting
Photography is an evolving skill that improves with practice. To master portrait photography:
- Work with different subjects, including friends and family.
- Try shooting in various lighting conditions.
- Challenge yourself with creative themes or projects.
- Analyze your shots and keep refining your techniques.
Conclusion
Taking stunning portraits like a pro requires a combination of technical skills, creativity, and a good understanding of your subject. By mastering lighting, composition, camera settings, and post-processing, you can elevate your portrait photography and create captivating, professional-quality images. Keep practicing, experimenting, and most importantly, have fun capturing unique portraits that tell a story!